Skip to Main Content
Jim Dunbar
PPRSW RWS RGI SWE
    • Home
    • Bio
    • Work
    • Techniques
    • Exhibitions
    • Notebook
    • Contact
Menu
  • Home
  • Bio
  • Work
  • Techniques
  • Exhibitions
  • Notebook
  • Contact
August 28, 2018

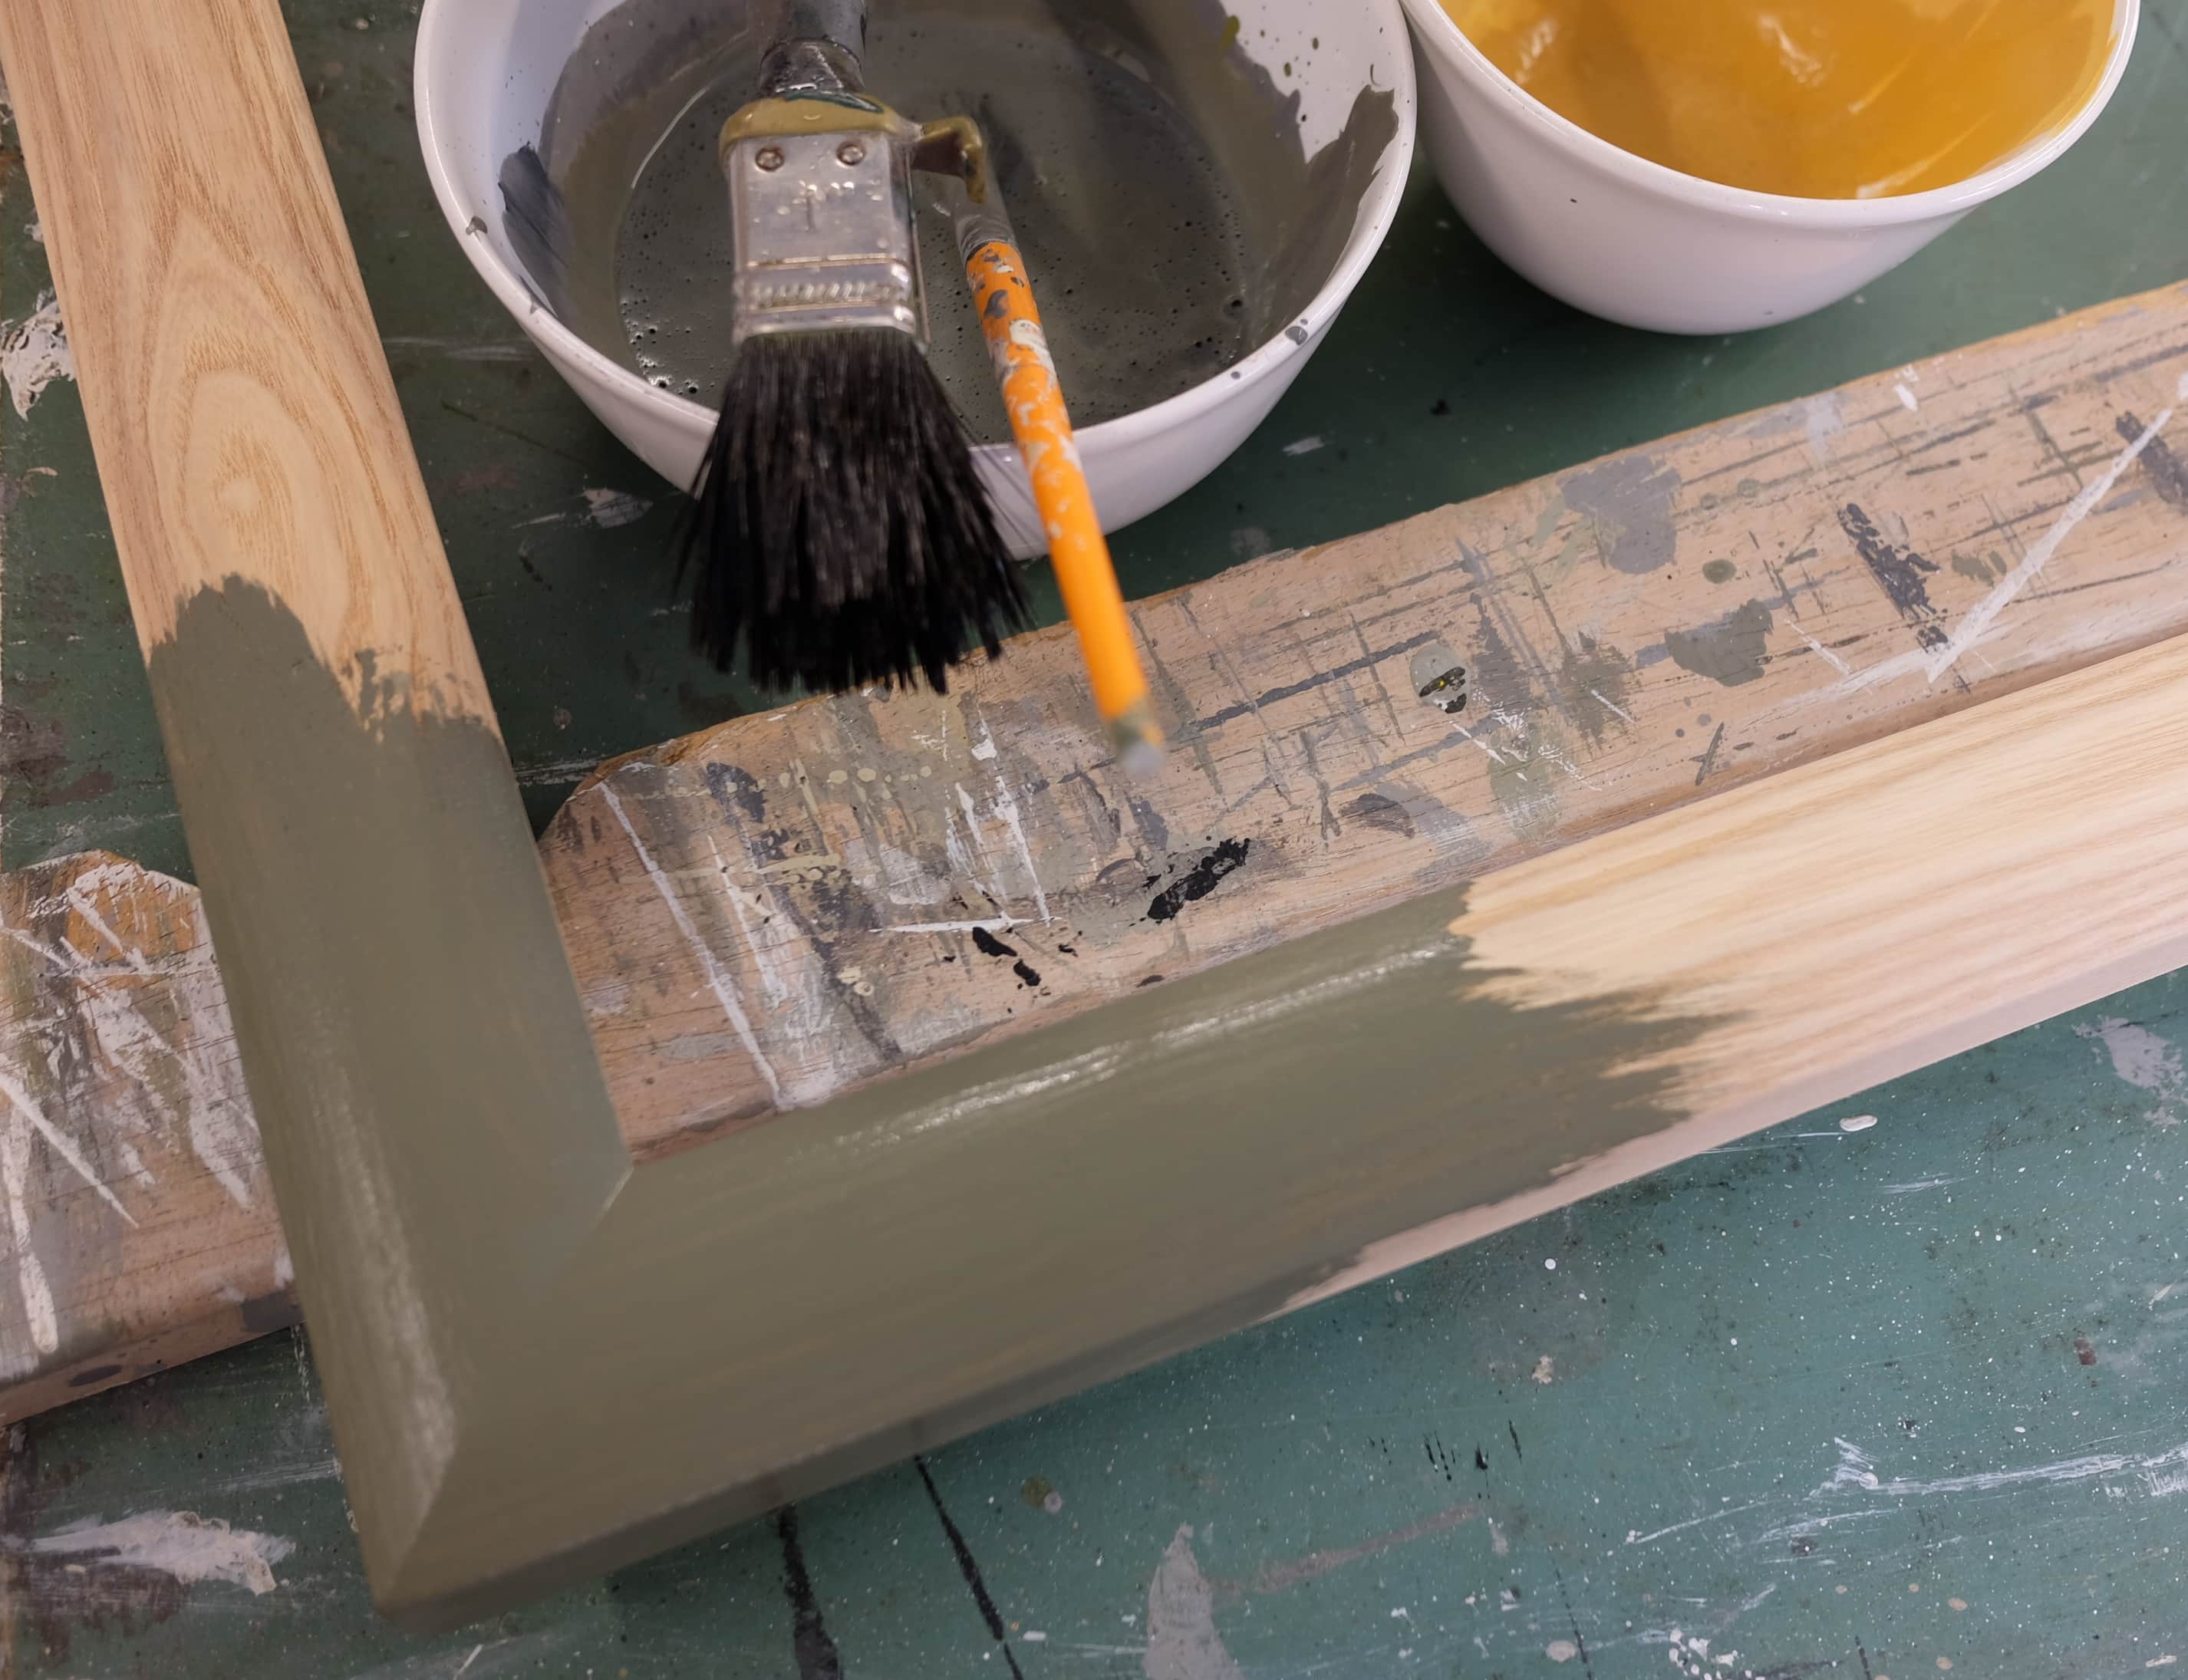
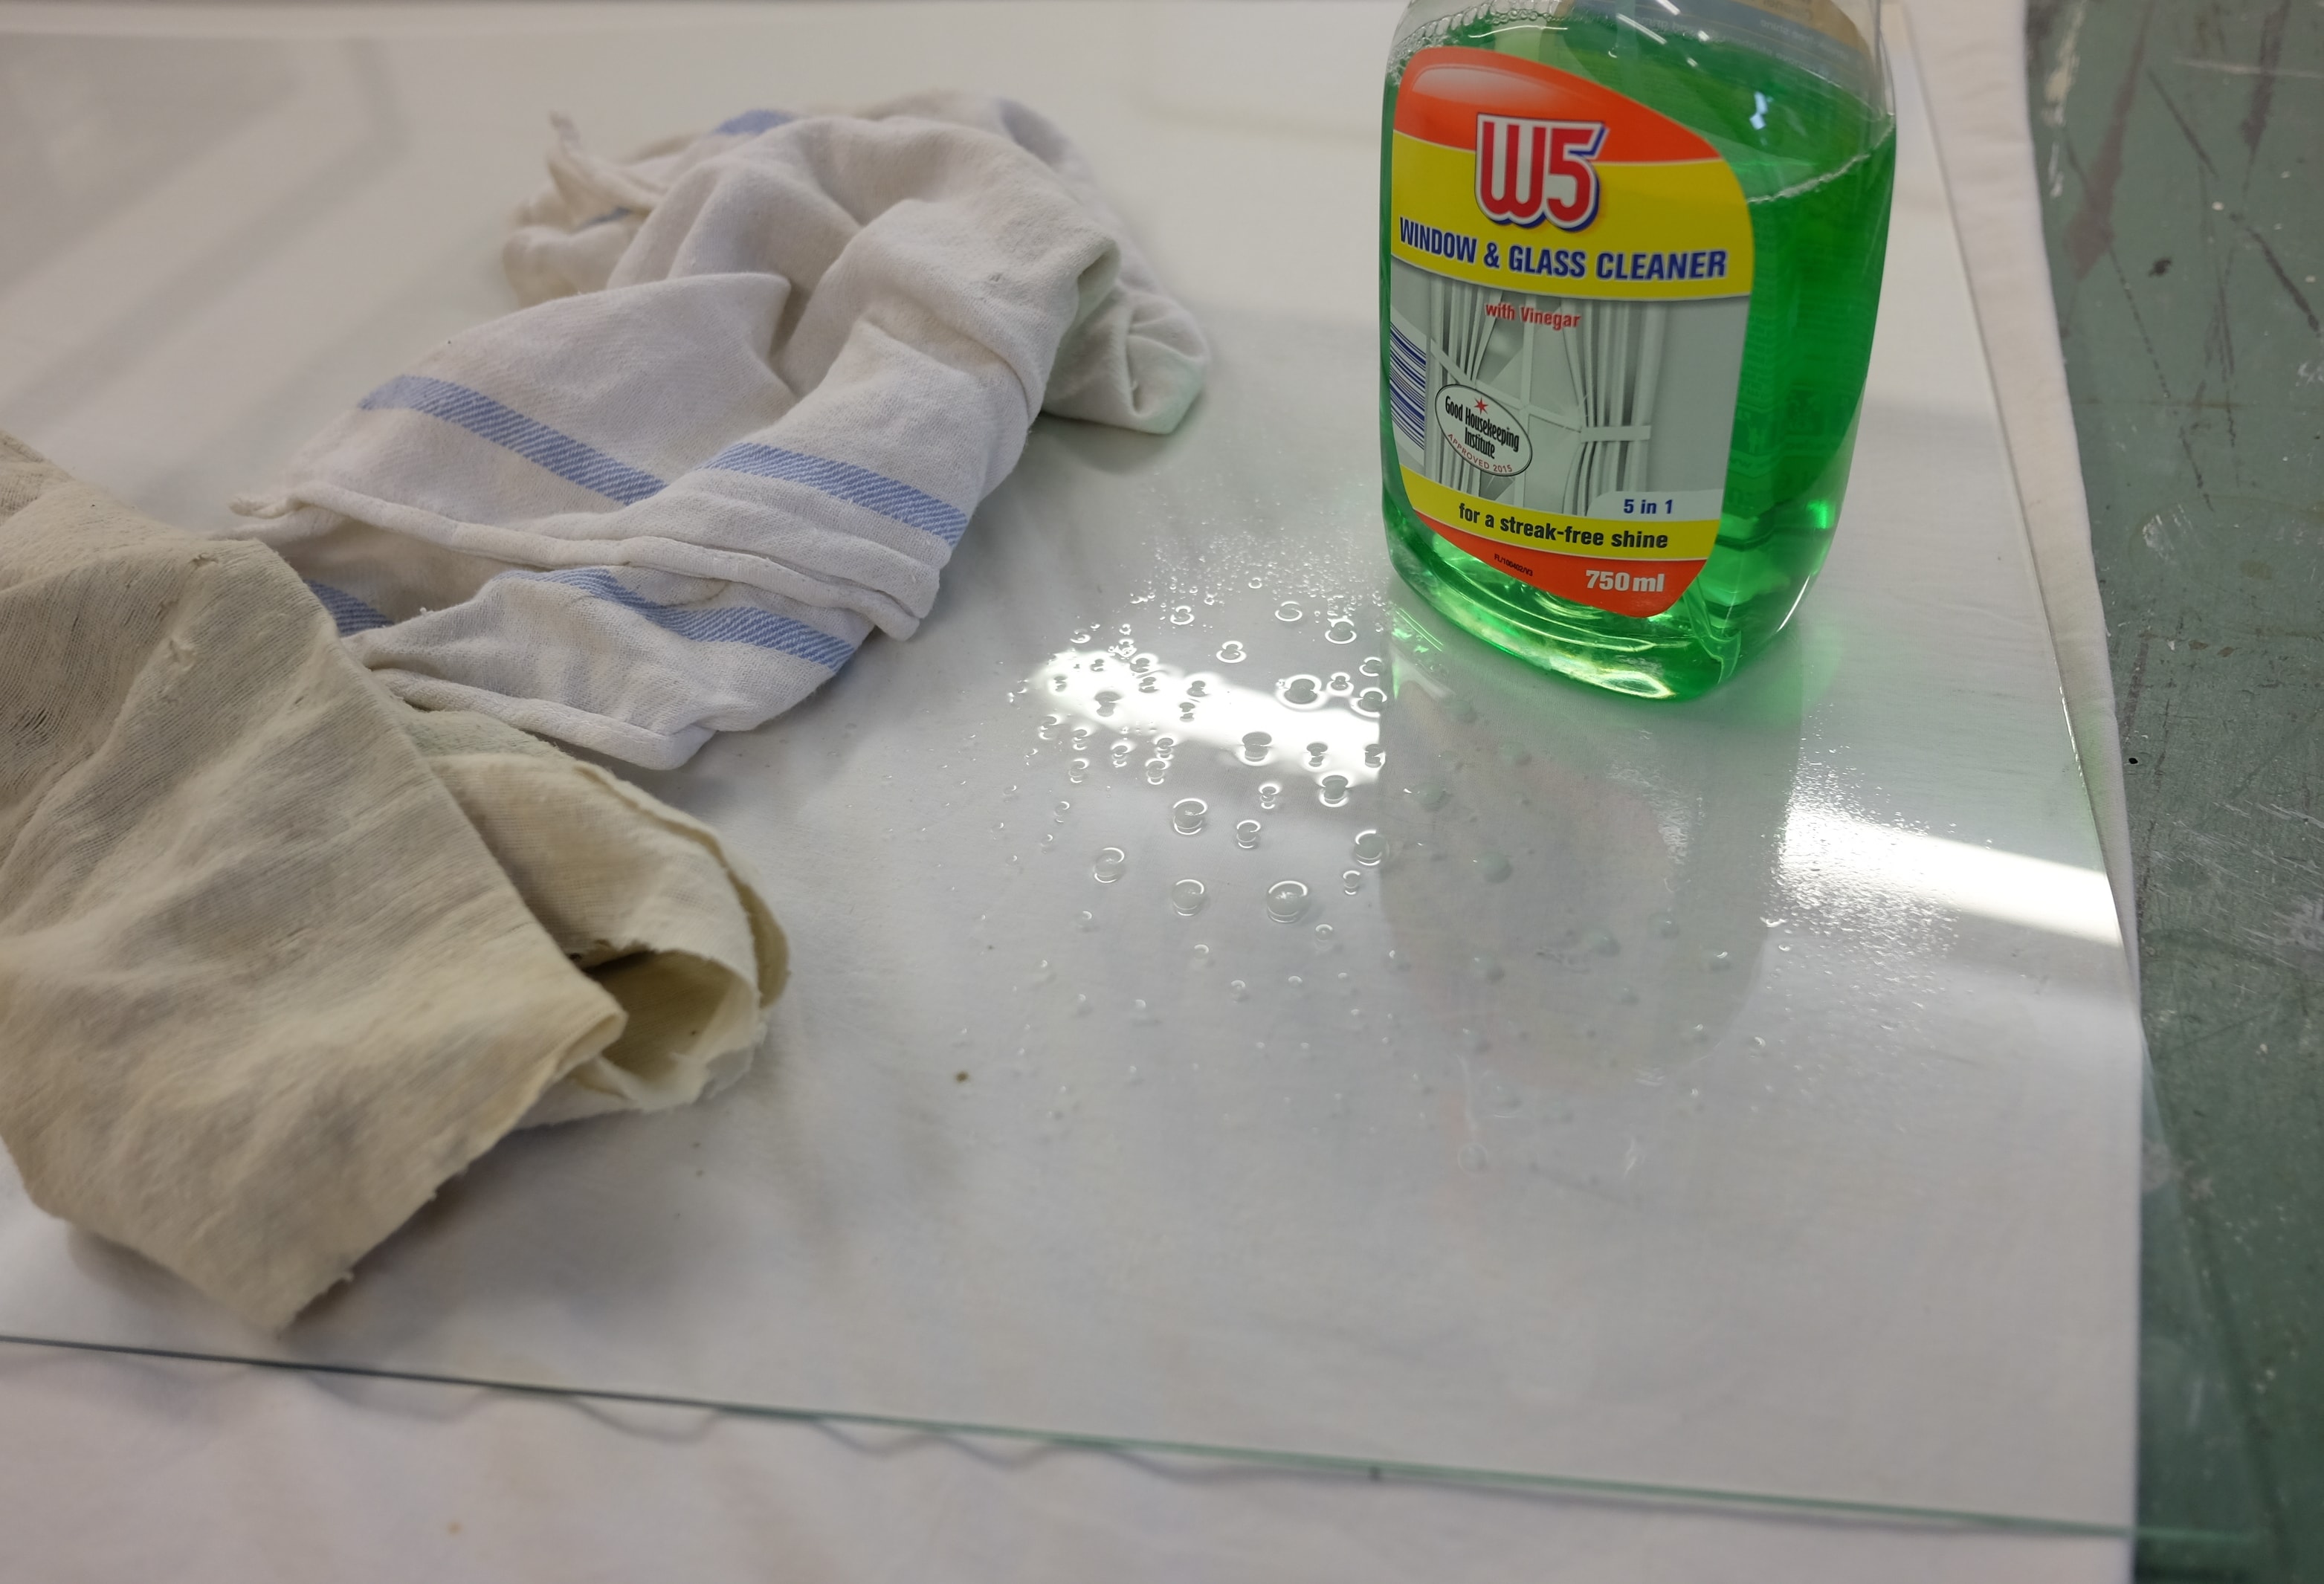
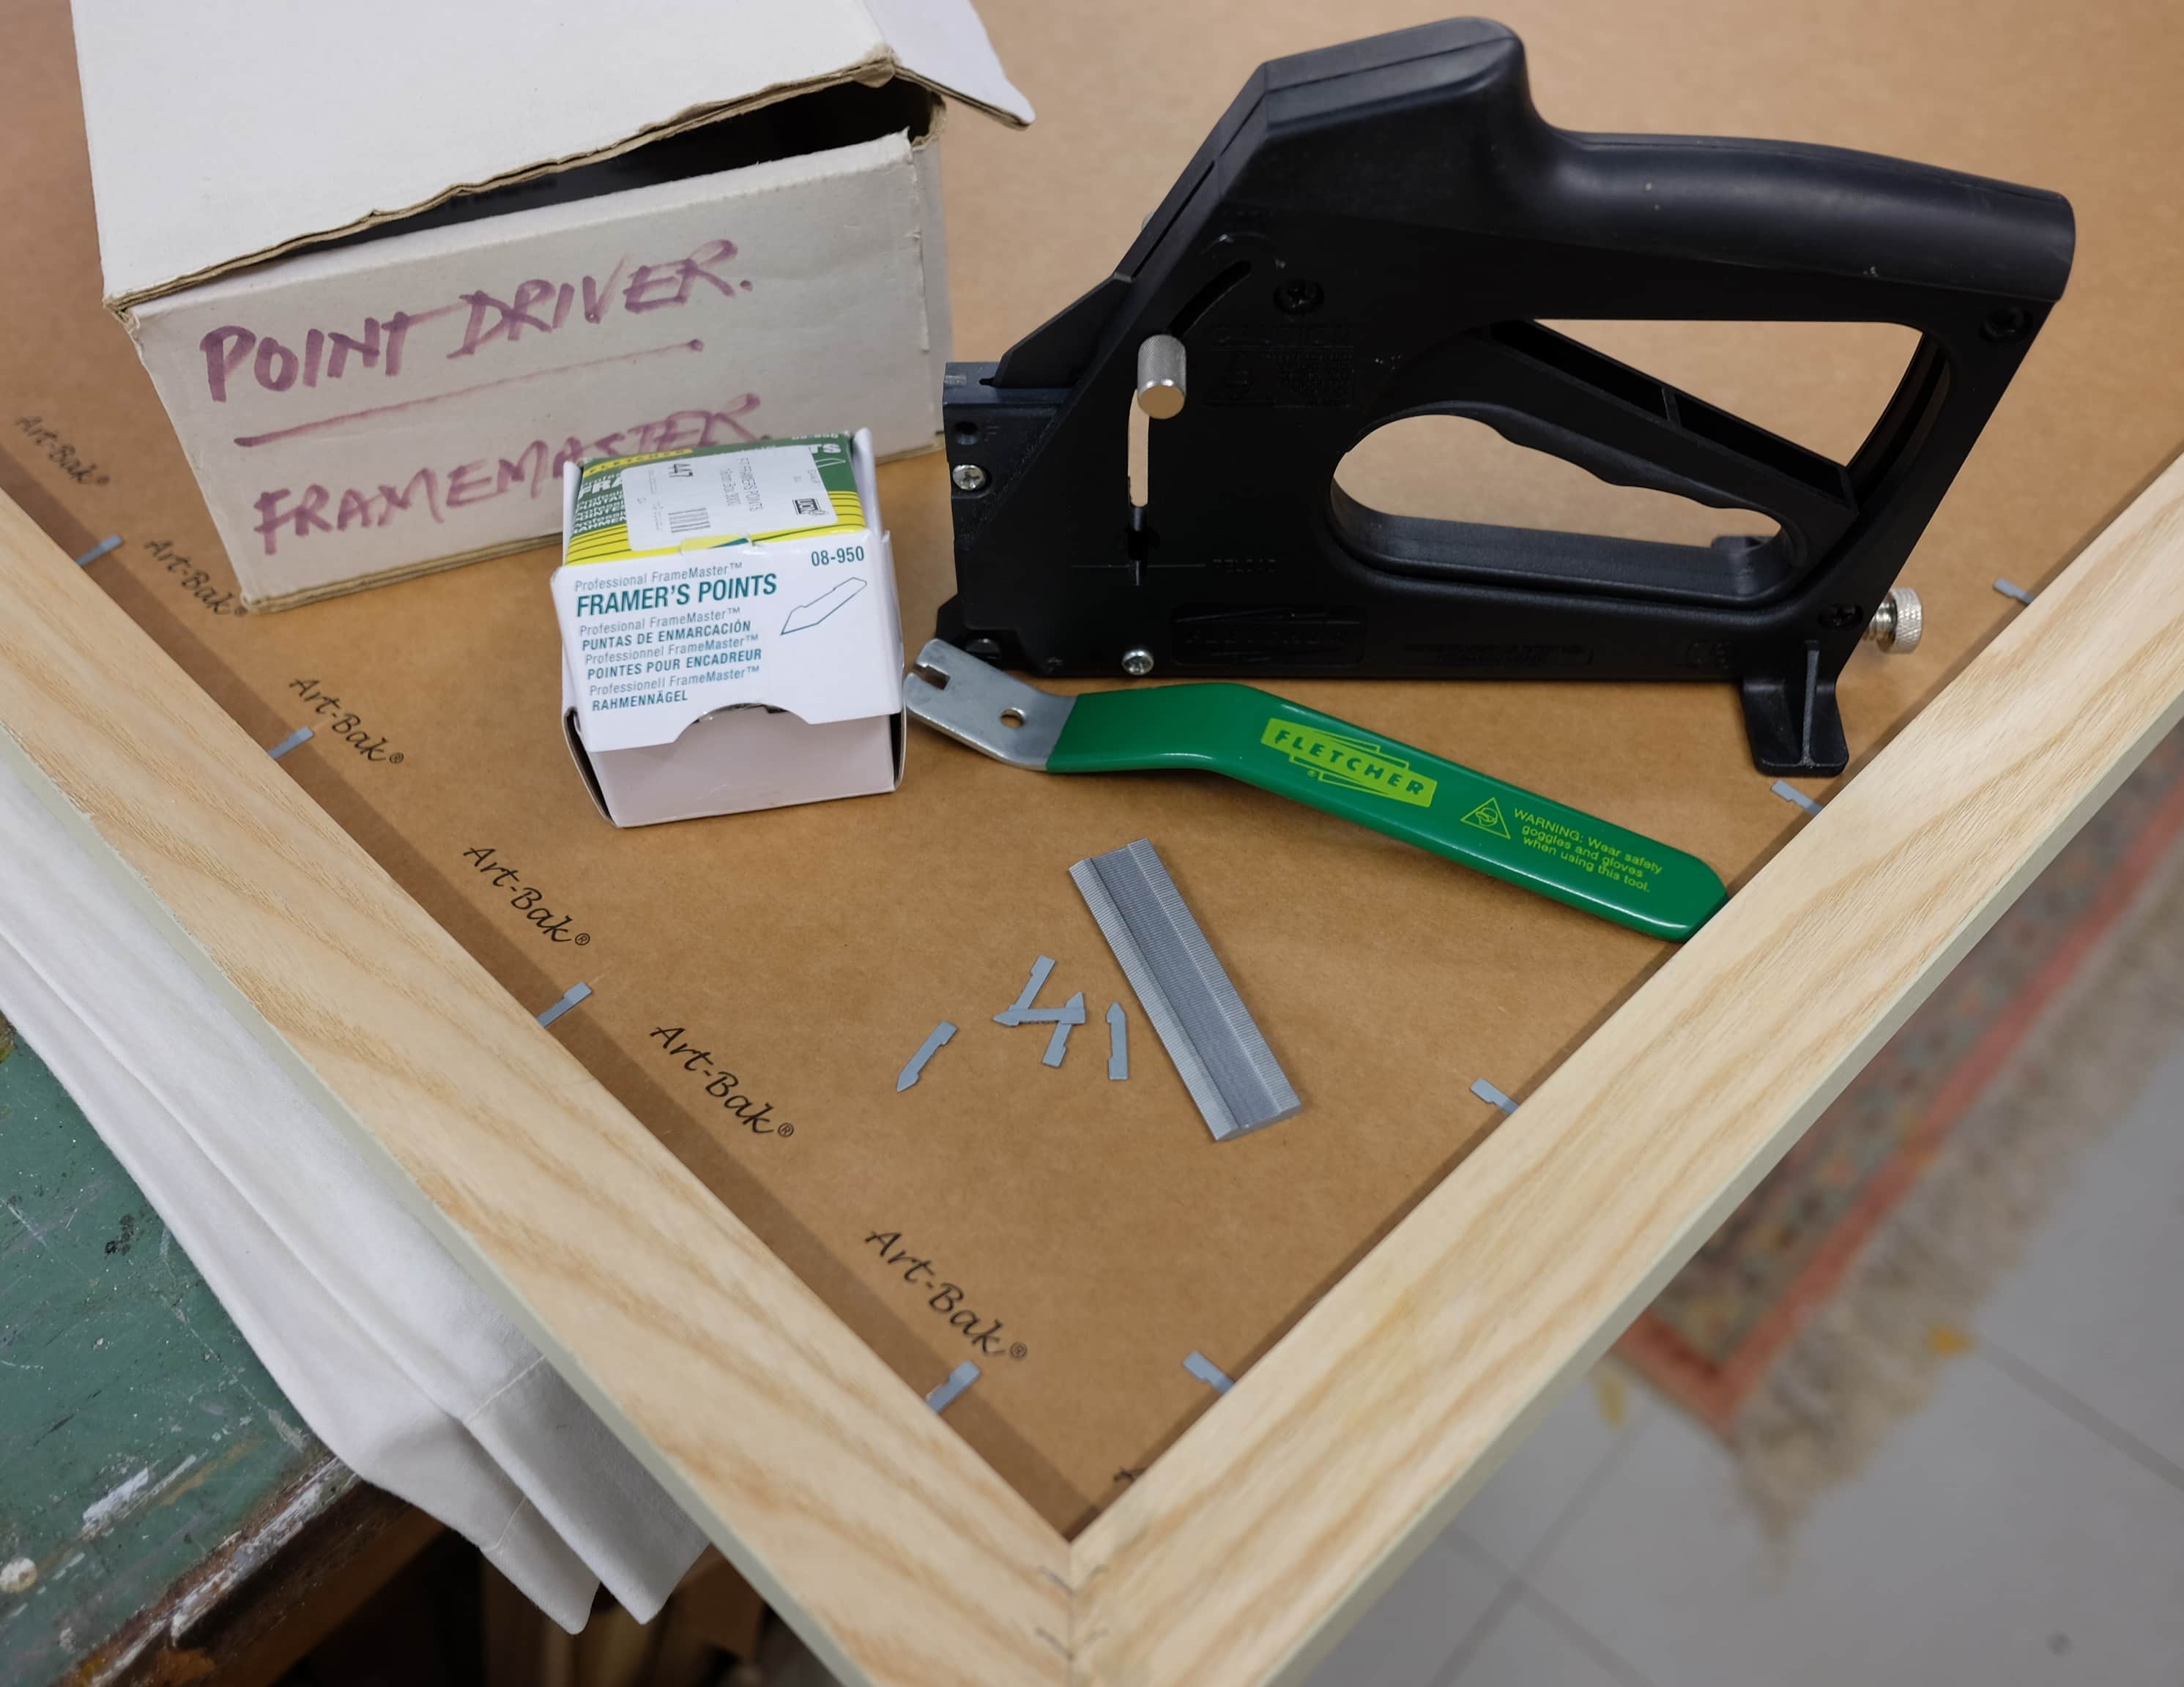
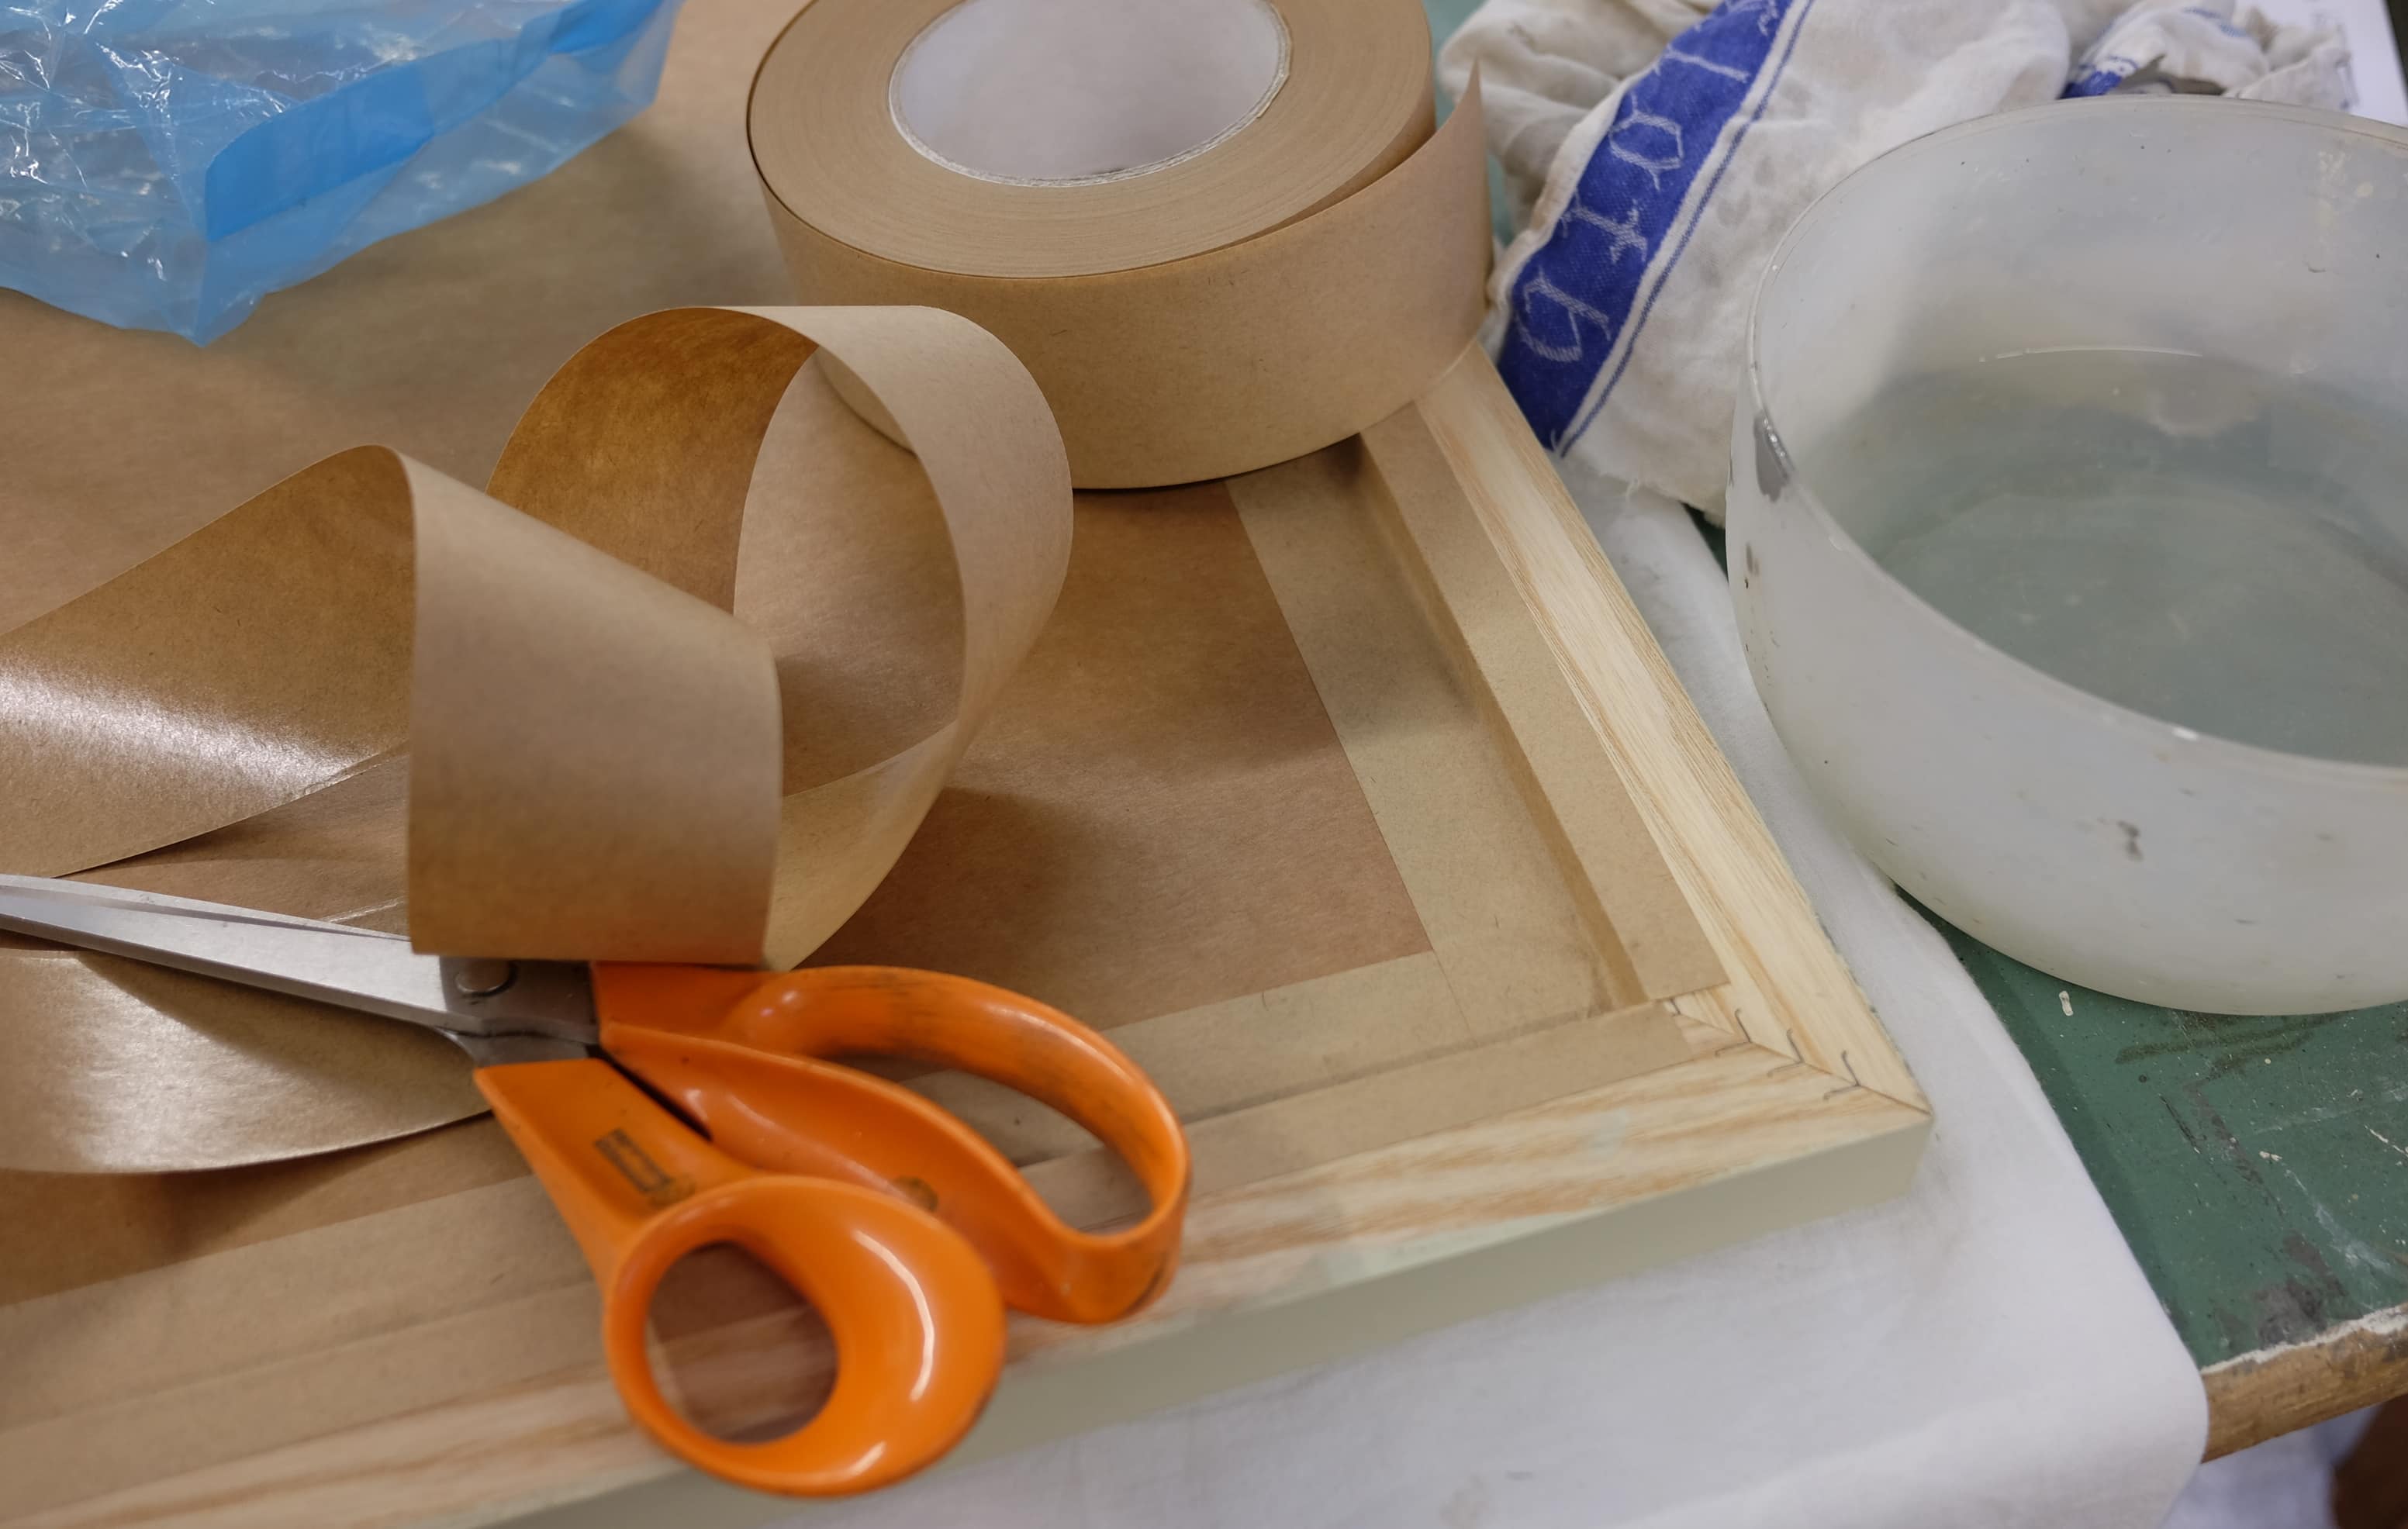
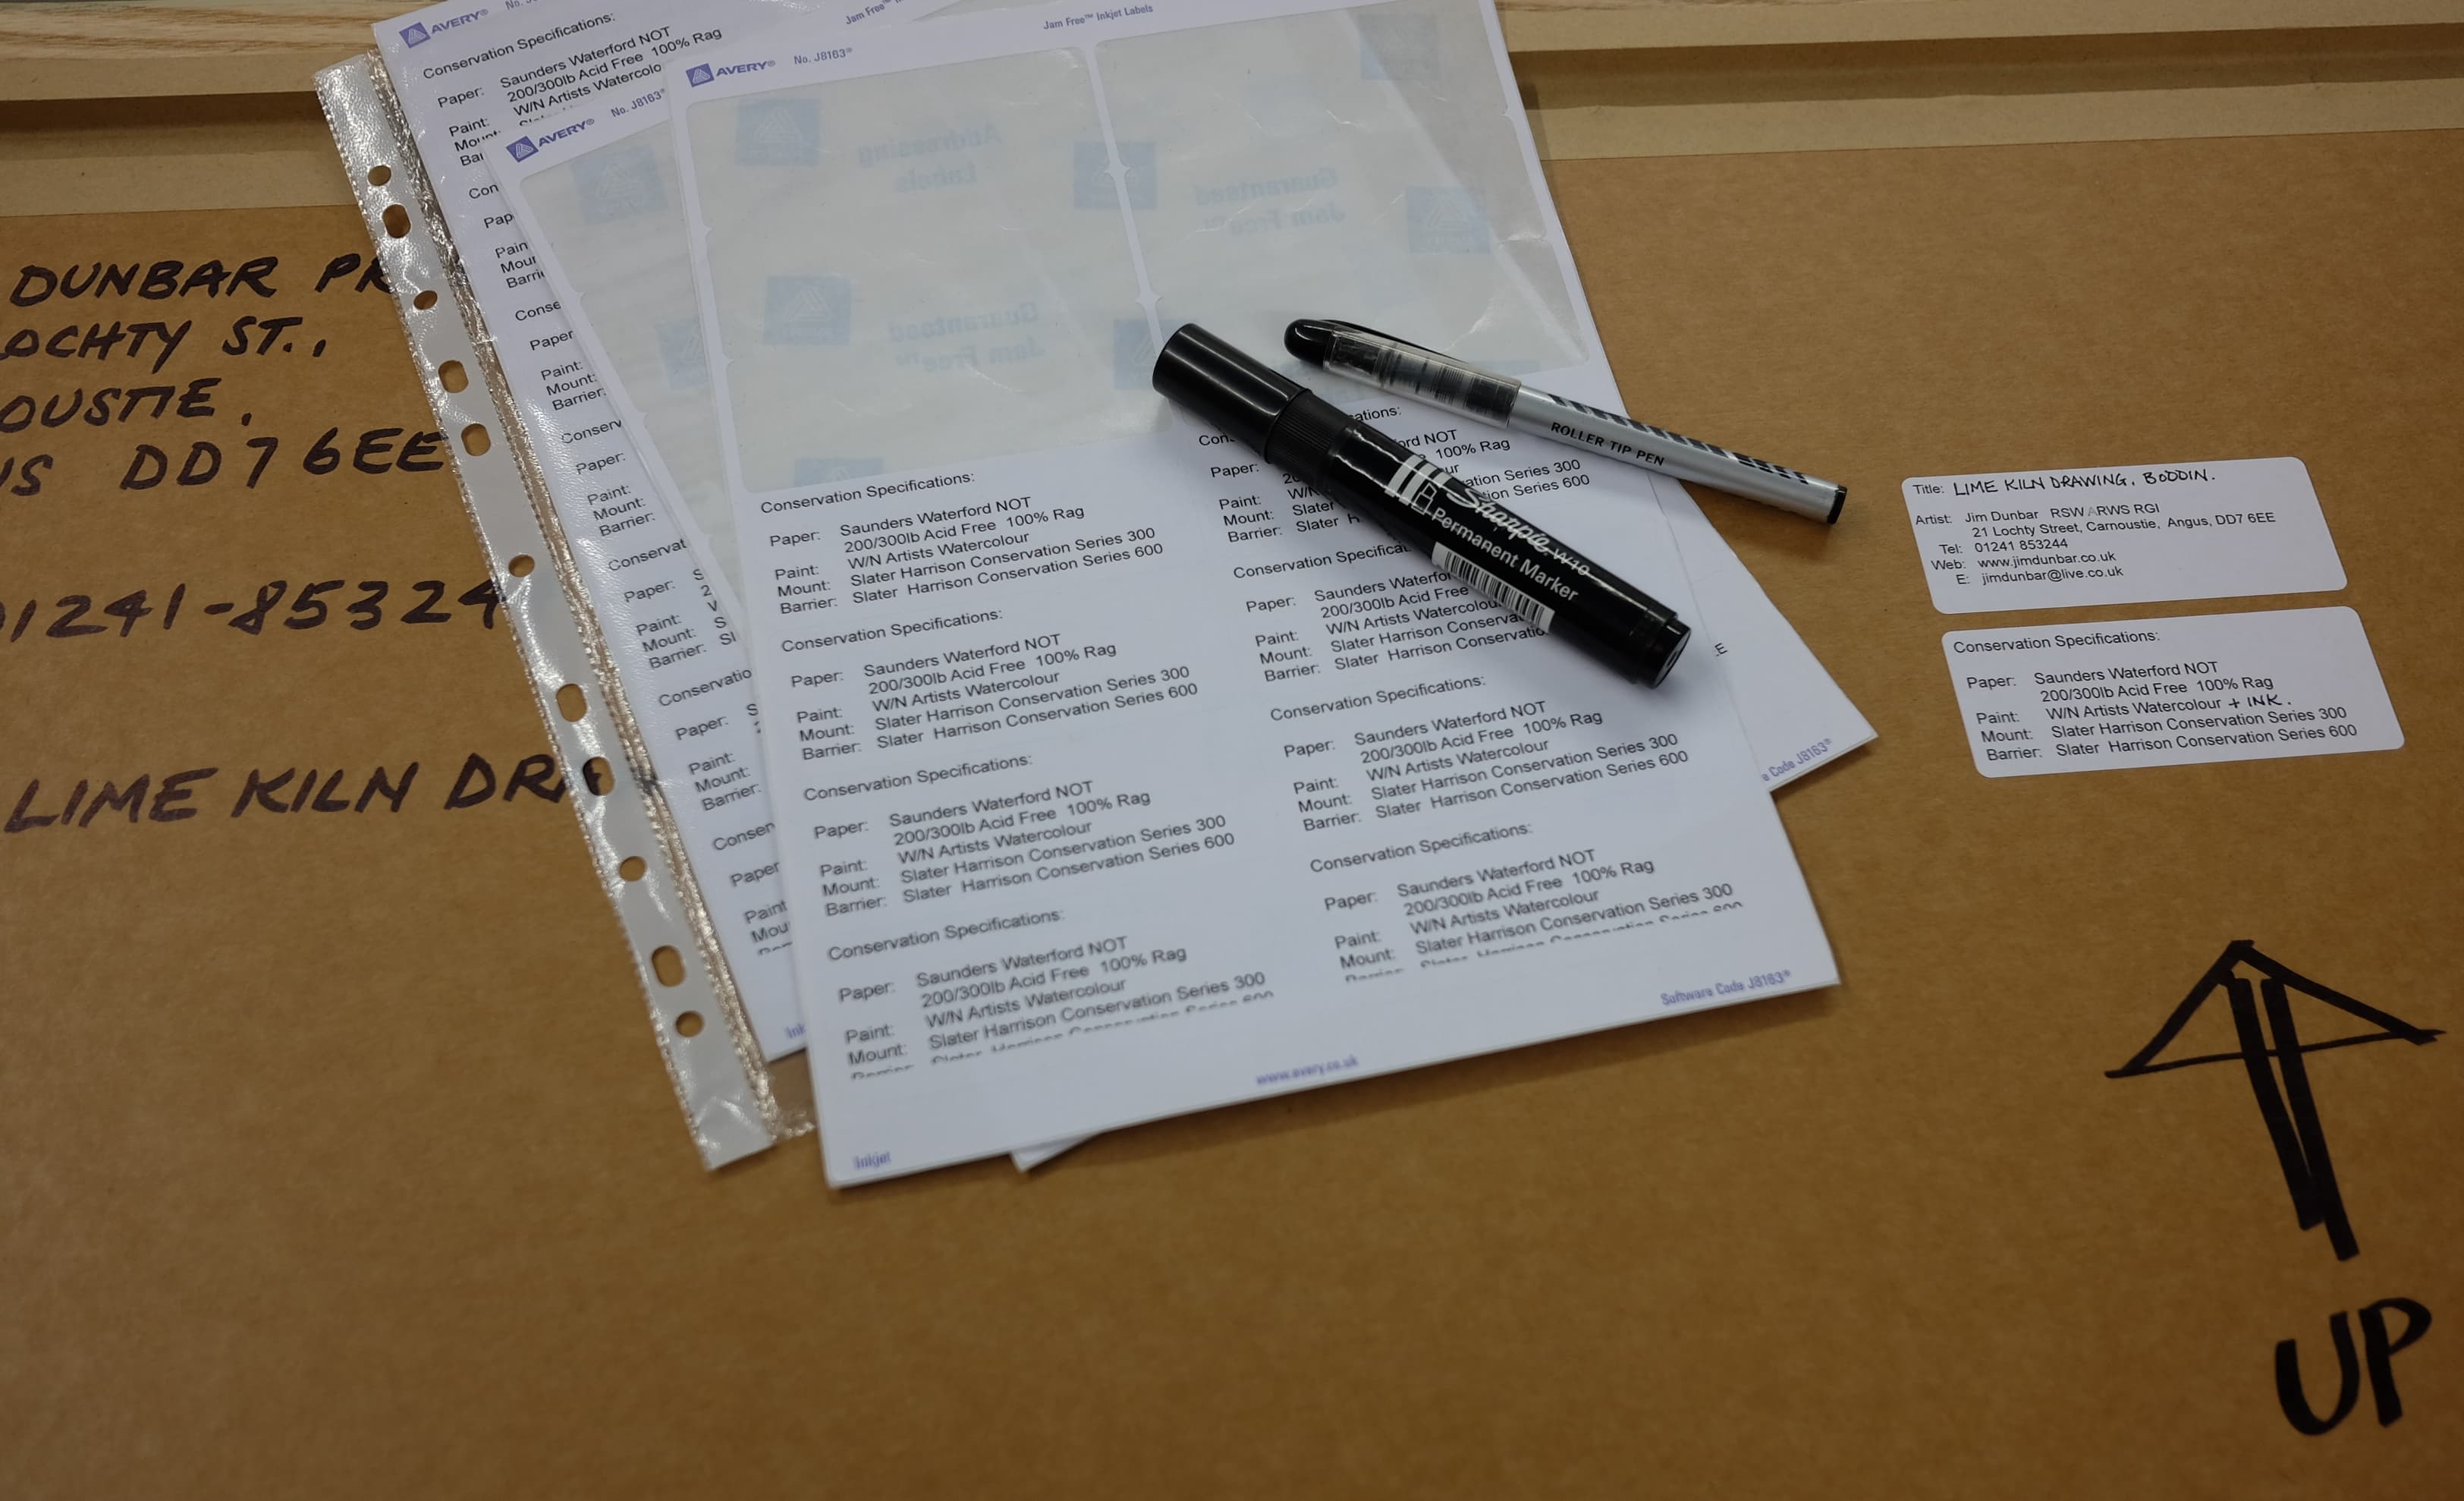
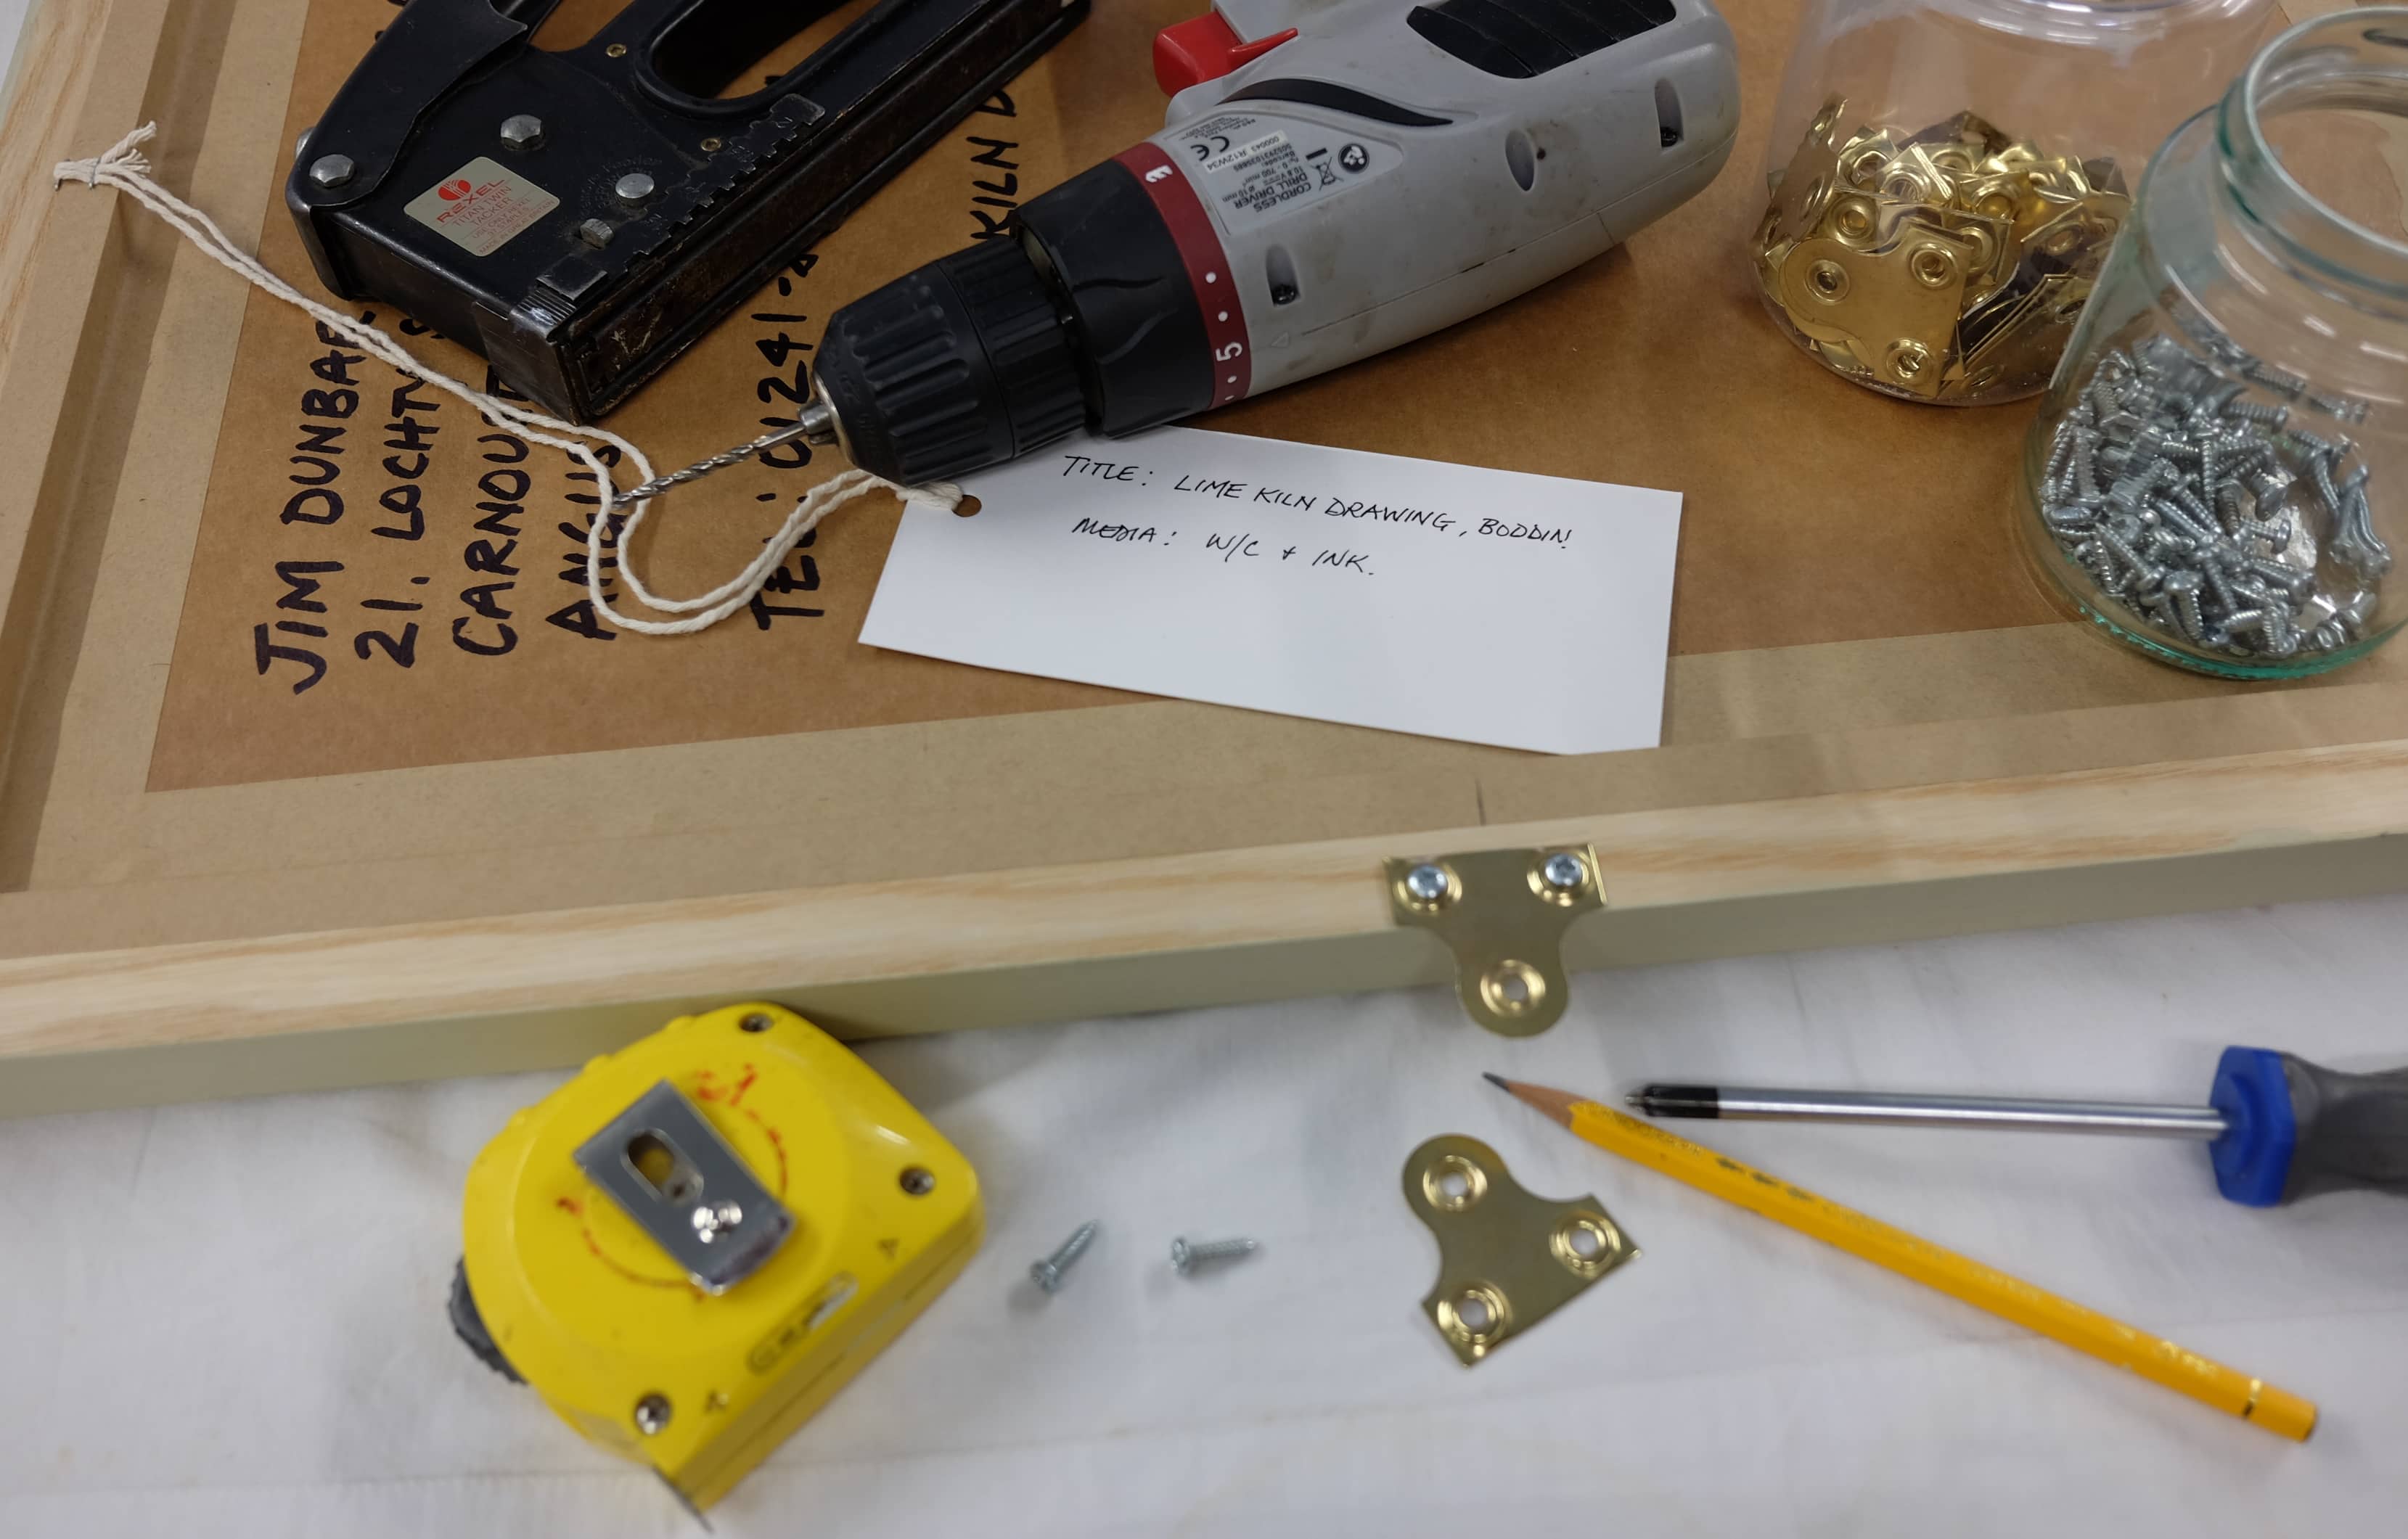
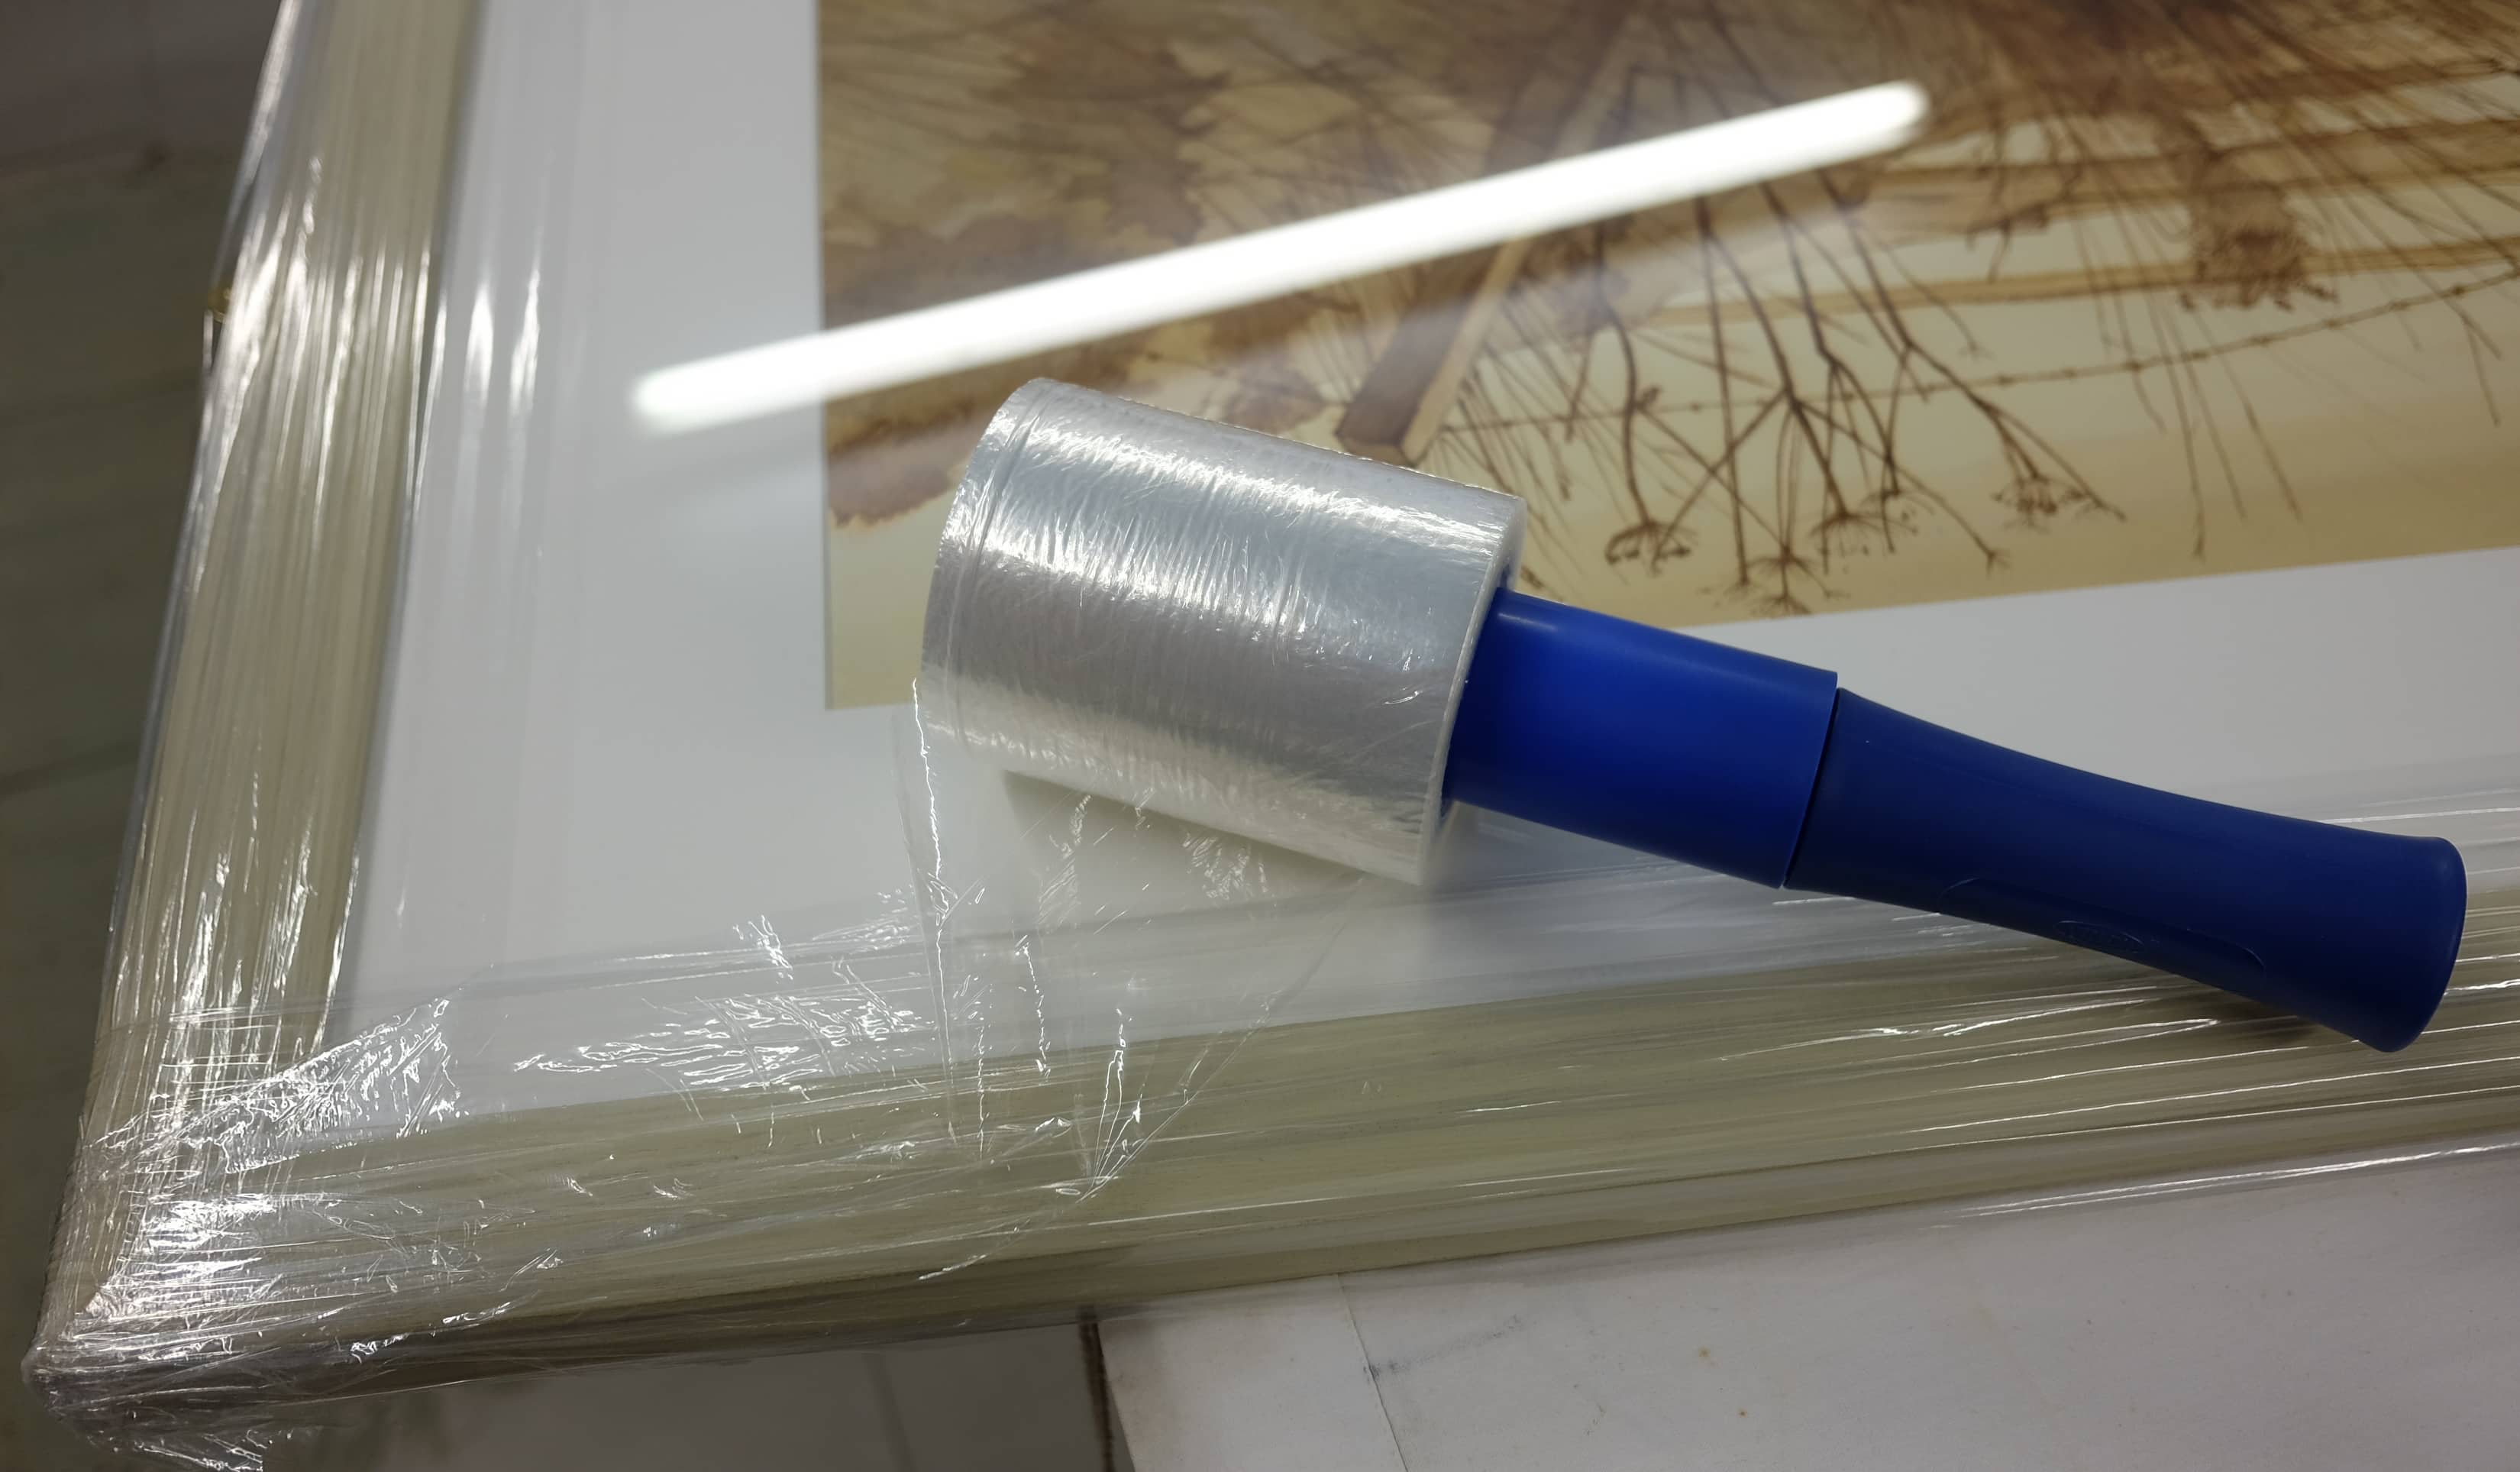
More Framing Notes – final assembly

Following the construction of the frame in my previous post, I have taken photos of the next stage. This includes individually colouring the moulding, careful preparation of the glass and backing board, final assembly, fixings and the all important labelling.

After a light sanding, I use an individually mixed water-based paint to colour the moulding to suit the work. Applying a protective micro-crystalline wax polish, which leaves a satin, finger mark free finish...….incidentally a different frame. Thoroughly cleaning the glass on both sides. Using framers points and gun to secure the backing board to the frame. Using brown gum strip to tape up the backing board, sealing the frame making it dust free. Remove any excess moisture. It is essential to clearly label work with permanent labels. I also write directly on to the backing board, just in case the labels fall off in time. Fixings must adhere to individual gallery requirements, in this case mirror plates and tie on labels. Mirror plates can be turned inwards for transport, and protection of other works. Wrapping the frame with cellophane, which provides excellent protection of the frame from handling, or bubblewrap ready for transport or storage.
    • Home
    • Bio
    • Work
    • Techniques
    • Exhibitions
    • Notebook
    • Contact
  • 07789 293 222

    Studio
    (please phone before visiting)
    21 Lochty Street
    Carnoustie
    DD7 6EE

    Find us

© Copyright Jim Dunbar, all rights reserved

Website by Carnoustie Creative.